
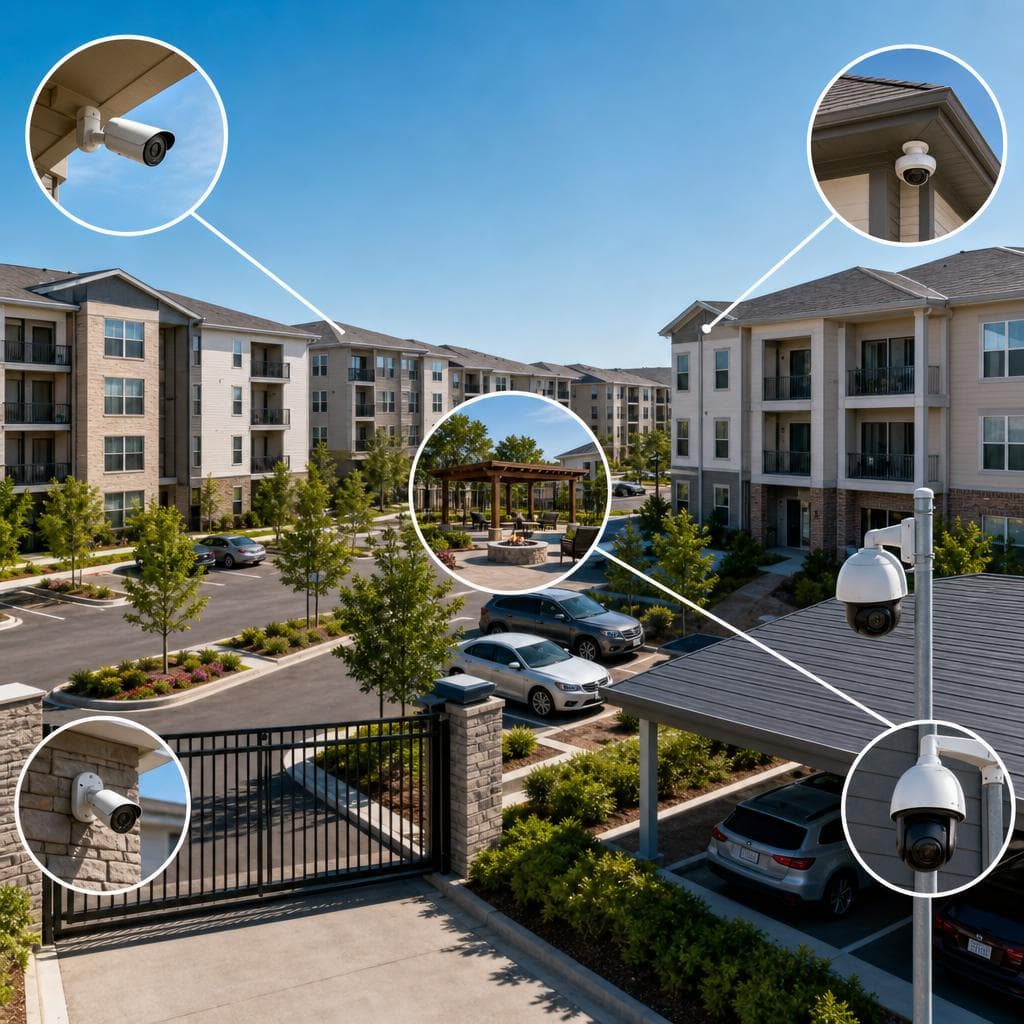
Best Camera Locations for Apartment Communities and HOAs
Apartment communities and HOAs need cameras for a simple reason: shared property creates shared risk. Residents, guests, vendors, delivery drivers, and contractors move through the same gates, lobbies, parking areas, amenities, and paths every day. When an incident happens, managers need usable video that shows what occurred, where it started, and who should respond.
The challenge is not buying the most cameras. It is placing the right cameras where they answer real operational questions without creating blind spots, wasted storage, or resident privacy concerns. This guide explains the best camera locations for apartment communities and HOAs, why each location matters, and how to turn a camera plan into a practical deployment checklist.
Start With the Questions Your Cameras Must Answer
A strong camera layout begins with questions, not equipment. Property teams usually need to know who entered, which vehicle arrived, whether a package was delivered, why damage occurred, and how a complaint developed. Those answers determine placement, lens choice, mounting height, lighting needs, and retention settings.
Identify high-value events
List the events that cost time, money, or trust: vehicle break-ins, gate damage, unauthorized amenity use, hallway disputes, dumpster violations, package theft, pool incidents, and vandalism. Then map where those events begin and where evidence is most likely to be visible.
Separate identification from awareness
A wide overview camera can show activity across a courtyard, but it may not identify a face or license plate. Identification requires tighter framing at entrances, doors, gates, or choke points where people and vehicles naturally slow down. Use both types deliberately.
 Camera placement should support real events, not guesswork.
Best Exterior Camera Locations
Exterior cameras create the first layer of coverage because most property issues begin outside a unit door. Prioritize locations that capture access, movement, and assets.
Vehicle entrances and exits
Main vehicle entrances and exits are usually the highest priority. Cameras here should capture the vehicle, direction of travel, and, when conditions allow, a readable plate. Assumption: license plate recognition may require a dedicated camera, controlled angle, and adequate lighting; a general overview camera is often not enough.
Pedestrian gates and side entrances
Side gates are common blind spots because they are convenient for residents and attractive to trespassers. Mount cameras to see the latch area, the person using the gate, and the immediate approach path. Do not aim only at the sidewalk; capture the point where authorization occurs.
Parking lots, garages, and drive aisles
Parking coverage should show entries, exits, drive aisles, stair towers, elevator lobbies, and high-value zones such as assigned spaces, visitor areas, and mailroom access. Avoid relying on one distant camera for an entire lot. Use overlapping views so a person can be followed from vehicle to building.
Building perimeters and exterior doors
Every exterior door that leads into a controlled area deserves attention, especially rear doors, service doors, and stairwell exits. Frame the door, handle area, and person approaching. If the door has access control, coordinate camera timestamps and views with entry records.
Best Interior Common-Area Locations
Interior cameras should protect shared spaces while respecting resident privacy. Never place cameras where residents reasonably expect privacy, such as inside restrooms, changing rooms, or private units. Focus on public or controlled common areas where management has a clear operational reason for monitoring.
Lobbies and leasing office entrances
Lobby cameras should capture the main approach, visitor interaction area, and transition into elevators or corridors. At leasing offices, aim for coverage of the public entry and reception point, not desks with sensitive documents or employee screens.
Mailrooms and package areas
Mailrooms need cameras that show the doorway, package lockers or shelves, and the face of the person collecting items. One camera above the packages often records only the top of a head. Place cameras at angles that show both item movement and user identity.
Elevator lobbies, stairwells, and corridors
These transition points help reconstruct movement after an incident. Place cameras where people enter or leave a floor, not randomly in the middle of long halls. In stairwells, consider lighting, vandal resistance, and emergency egress requirements before choosing mounting points.
Amenities and shared facilities
Pools, gyms, clubhouses, laundry rooms, dog parks, and storage rooms each have different risks. Cover entrances, equipment areas, rule-signage zones, and paths to exits. Do not use cameras as a substitute for proper access control, safety policies, or staff response procedures.
 Interior coverage works best at entrances, transitions, and shared assets.
Camera Locations for Community Operations
Some of the best camera locations are not the most obvious security spots. Operational cameras reduce disputes, confirm service activity, and help managers document recurring problems.
Trash enclosures and recycling areas
Dumpsters and recycling rooms often generate complaints about illegal dumping, overflow, and vendor timing. Place cameras to see the enclosure entrance, not only the container. Clear views support enforcement and help determine whether signage, scheduling, lighting, or access changes are needed.
Maintenance shops and equipment rooms
Cameras near maintenance areas should document access to tools, supplies, keys, and utility spaces. Limit coverage to entrances and work zones where there is a business need. Review who can access footage from these areas because employee activity may be involved.
Playgrounds, courts, and open recreation areas
Outdoor amenities need context, not intrusive closeups. Use overview cameras that show entrances, perimeter conditions, and equipment use while avoiding unnecessary views into neighboring homes or private patios. Lighting and signage matter because many complaints occur after normal office hours.
Management, board, and vendor touchpoints
HOAs and multifamily properties often need verification at board rooms, service counters, delivery doors, and vendor check-in points. Keep cameras focused on public interaction areas. Use access permissions so only authorized people can view recordings.
Placement Details That Make Video Usable
Location is only half the decision. A camera in the right area can still fail if the view is too high, too wide, backlit, blocked by landscaping, or aimed at glare.
Mounting height and angle
For identification, cameras generally perform better when mounted near natural eye level or angled toward an approach path, while still protected from tampering. Very high cameras provide broad awareness but often lose facial detail. Use them for context, then add closer cameras at doors and gates.
Lighting and night performance
Walk the property after dark before finalizing locations. Look for backlighting from headlights, dark alcoves, reflective glass, and uneven fixtures. Where lighting cannot be improved, choose cameras designed for the condition and test the recorded image, not just the live view.
Field of view and overlap
A useful system lets reviewers follow a person or vehicle from one camera to the next. Overlap is especially important between gates, parking, lobbies, elevators, and hallways. Name cameras clearly so staff can find related views quickly.
Network, power, and storage
Camera locations must be realistic for cabling, wireless reliability, power, weather protection, and network capacity. Plan recorder or cloud storage based on image quality, motion, retention goals, and how often video will be reviewed. Document assumptions before installation.
A Practical Camera Planning Checklist
Use this checklist before approving budgets, proposals, or installation schedules. It helps boards and managers compare options without becoming technical experts.
- Walk the property during the day, at night, and during busy traffic periods.
- Mark incident locations from the past year, using qualitative records if exact data is unavailable.
- Identify all vehicle and pedestrian entry points.
- Separate cameras needed for identification from cameras needed for overview.
- Confirm privacy boundaries, including windows, patios, restrooms, and private work areas.
- Check lighting, glare, landscaping, seasonal foliage, and signage conditions.
- Decide who can view live video, search recordings, export clips, and approve release.
- Choose retention settings that match operational needs and available storage.
- Coordinate cameras with access control, intercoms, gates, and alarm events.
- Label cameras by building, floor, direction, and purpose.
- Test recorded playback before accepting the installation as complete.
- Create a maintenance schedule for cleaning lenses, checking views, and updating permissions.
Tip: During a site walk, stand where a person would actually enter, park, pick up a package, or use an amenity. If the camera cannot show that action clearly, adjust the location before installation.
Common Mistakes and How to Recover
Most camera problems come from design shortcuts. The good news is that many can be corrected with re-aiming, adding targeted cameras, improving lighting, or changing procedures.
Mistake: covering too much with too few cameras
Wide coverage feels efficient, but it often produces video that cannot identify people, plates, or specific actions. Recover by keeping the overview camera and adding focused views at the actual decision points.
Mistake: ignoring back doors and service paths
Incidents rarely respect the main entrance. Service corridors, rear doors, utility rooms, and delivery shortcuts can become weak points. Recover by mapping every route a resident, vendor, or trespasser could use.
Mistake: forgetting governance and communication
Camera systems affect residents, employees, vendors, and visitors. Boards and owners should define purpose, access permissions, retention expectations, and signage before cameras go live. Recover by documenting policies, training authorized users, and reviewing permissions regularly.
Mistake: treating cameras as a replacement for response
Cameras record and deter in some circumstances, but they do not fix broken locks, poor lighting, unmanaged access, or unclear rules. Recover by pairing video with maintenance, access control, patrol procedures, and clear escalation steps.
Recommended Priority Order for Most Communities
Every property is different, but a practical priority order helps teams phase improvements when budget or construction access is limited. Use the table as a starting point, then adjust it based on your incident history, layout, lighting, and resident concerns.
| Priority | Location | Why It Matters |
|---|---|---|
| First | vehicle and pedestrian entrances | Establishes who and what entered the community |
| Second | exterior doors, lobbies, and elevators | Connects access points to building movement |
| Third | mailrooms, package areas, and amenities | Protects shared assets and high-complaint spaces |
| Fourth | parking lots, garages, and trash areas | Documents recurring operational and property issues |
| Fifth | perimeter recreation areas and service zones | Adds context after core evidence paths are covered |
If a community can only complete one phase, focus on entrances, exits, and controlled access points first. Those locations usually provide the clearest evidence for follow-up decisions.
Decision Framework for Owners, Boards, and Managers
A good camera plan is balanced. It covers the locations where evidence is likely, respects privacy, works with existing infrastructure, and remains manageable for the people who will use it. Before approving a design, ask three questions.
- Will this camera answer a specific operational or security question?
- Can the recorded image identify what we need to identify under real lighting conditions?
- Do our policies explain who can view, store, share, and manage the video?
If the answer to any question is unclear, pause and refine the design. Adding cameras later is possible, but correcting poor placement after residents depend on the system can be disruptive.
What to Prepare Before Installation
Preparation makes the site visit faster and the proposal more accurate. Gather a current property map, gate and door schedules, recent incident notes, amenity hours, vendor routes, and any existing camera or access control documentation. Also identify upcoming projects, such as lighting upgrades, paving, landscaping, roofing, or clubhouse renovations, because those projects can change camera views and cable paths. This prevents redesigns and helps align security goals with community expectations early.
- Provide access to electrical rooms, network closets, rooftops, garages, and amenity spaces during the survey.
- Invite the manager, maintenance lead, and a board or ownership representative.
- Note any resident concerns that should shape privacy boundaries.
- Confirm budget phases so essential locations are protected first.
Ready to Plan Better Camera Coverage?
Security & Life Integrations can help your apartment community or HOA evaluate camera locations, blind spots, access points, and recording needs through a practical site assessment.
Schedule a Site Walk-Through