
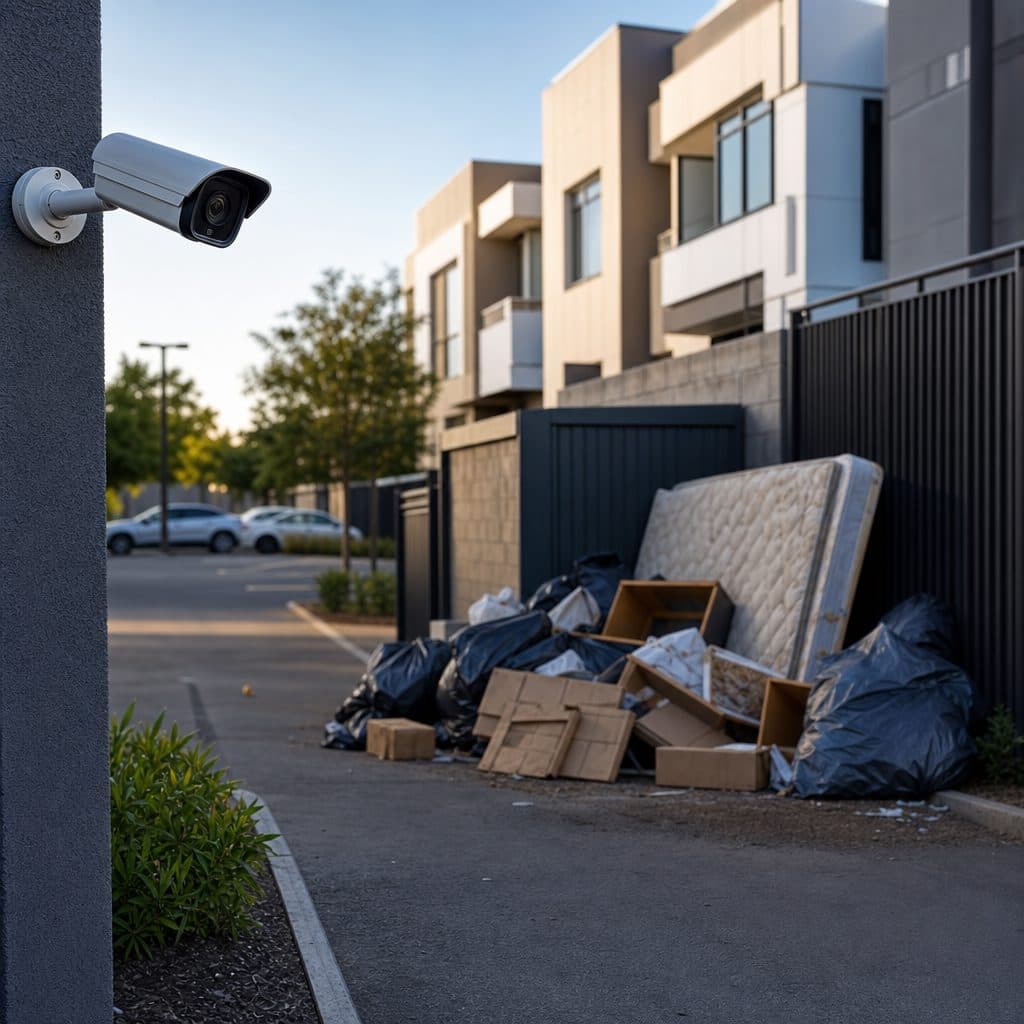
How cameras help property managers reduce illegal dumping
Illegal dumping is more than an eyesore. For property managers, it can mean cleanup bills, resident complaints, pest problems, blocked access, and repeated calls to vendors or local authorities. The hardest part is that dumping usually happens when staff are not present, in low-traffic corners, alleys, parking areas, loading zones, or enclosure gates. Cameras cannot solve every behavior problem by themselves, but a well-planned camera strategy can make dumping harder, create useful evidence, and help managers respond before a small pile becomes a recurring nuisance.
The goal is not to watch every inch of a property. The goal is to identify the specific dumping pattern, place the right cameras where they will capture faces, vehicles, plates, and actions lawfully and clearly, then connect alerts, signage, documentation, and follow-up. This article explains why dumping happens, which camera options fit common properties, and how to build a practical program that supports operations without creating unnecessary complexity.
Why illegal dumping keeps returning
Dumping returns when the location feels convenient, anonymous, and low risk. A vacant retail pad may offer a wide driveway after hours. A multifamily trash enclosure may sit near a public road. An industrial property may have a rear lane where contractors can unload quickly. If the site has poor lighting, hidden approaches, or overflowing containers, offenders may assume nobody will notice until morning.
Property managers also inherit mixed responsibilities. Tenants, residents, haulers, delivery drivers, landscapers, visitors, and neighboring businesses may all use nearby service areas. Without a record of who entered, what was dropped, and when it happened, managers are left guessing. Camera footage gives the team a timeline, but only if the system is positioned and managed for the dumping problem rather than installed as a generic security accessory.
 Camera placement should match the dumping pattern, not just the property map.
Camera options that actually support dumping prevention
Different properties need different tools. The best choice depends on distance, lighting, network access, power, and how quickly staff need to know something is happening. Start with the scene you need to capture. A camera that sees the whole parking lot may miss the plate on a vehicle. A camera that captures plates may not show the person unloading. Most sites need a small combination, not one perfect device.
Fixed overview cameras
Fixed cameras are useful for alleys, trash rooms, enclosure gates, and loading areas where managers need a constant record. They help establish the time of arrival, the length of the event, and whether the activity involved a resident, tenant, vendor, or unknown vehicle. Use them where the scene is predictable and the field of view can stay stable.
License plate capture
When vehicle identification matters, a dedicated plate view may be necessary. This is different from hoping a standard camera can zoom in later. Plate capture depends on angle, lighting, shutter behavior, speed, and lane design. If a driveway has several paths, the system may need a defined choke point such as a gate, speed bump, or marked entry lane.
Video analytics and alerts
Analytics can flag after-hours motion, people entering restricted areas, or vehicles stopping near disposal points. They are most valuable when alerts go to someone who can act, review, or dispatch. Keep rules specific. An alert for every passing car will be ignored, while an alert for a vehicle stopped at the enclosure for several minutes after closing is more useful.
Design the camera plan around the dumping pattern
Before buying equipment, document the pattern. Walk the property at the times dumping is discovered. Note where items appear, the nearest vehicle approach, lighting conditions, obstructions, and any blind corners. Ask maintenance staff what they find repeatedly: mattresses, construction debris, pallets, household trash, tires, or landscaping waste. Each material type can suggest a different source and response.
Then decide what evidence would change the outcome. For example, if the problem is outside contractors leaving renovation debris, the key evidence may be the company vehicle and unloading action. If the problem is residents placing bulky items outside pickup rules, the key evidence may be the building entrance used, the time, and the item being carried.
💡 Tip: Do a short site sketch before approving camera locations. Mark approaches, disposal points, lights, gates, signs, and the exact view each camera must capture.
Placement priorities
- Entrances and exits: capture vehicles before they turn away or disappear behind obstructions.
- Dumping points: show the person, the item, and the act of unloading.
- Approach routes: cover the path from the public road to the enclosure or service area.
- Lighting zones: avoid views where headlights, glare, or darkness will wash out evidence.
- Staff access points: confirm employees can retrieve footage without delaying daily operations.
Good placement also respects privacy. Aim cameras at common areas, service zones, and access points connected to the dumping issue. Avoid unnecessary views into private residences, neighboring interiors, or unrelated spaces. Local rules vary, so property managers should align camera placement, audio settings, notices, and retention practices with legal counsel or qualified compliance guidance.
 A clear monitoring plan turns footage into faster decisions and cleaner sites.
Connect cameras to an operating process
A camera system reduces dumping only when the team knows what to do with what it captures. Assign ownership. Someone must review alerts, save relevant clips, record incident details, coordinate cleanup, and communicate with residents, tenants, vendors, or authorities when appropriate. If every task belongs to everyone, the footage may sit unused until storage overwrites it.
Response workflow
- Receive the alert or discover the debris during inspection.
- Check the camera view covering the disposal point and the nearest approach route.
- Save the clip with date, time, location, and camera name.
- Take photos of the debris before cleanup if it is safe to do so.
- Log costs, vendor invoices, staff time, and any repeat identifiers.
- Follow the property policy for notices, chargebacks, reports, or trespass action.
- Update camera rules if the incident exposed a blind spot or slow response.
Storage settings matter. Retention should be long enough for staff to discover an incident, review footage, and preserve the clip, but not longer than the organization needs under its policies and applicable rules. Use consistent camera names such as “West Enclosure Gate” or “Rear Loading Dock” so incident notes are clear.
Use deterrence without relying on bluffing
Visible cameras, lighting, access control, and clear rules work together. Cameras should be obvious enough to discourage opportunistic dumping, but the system still must capture usable evidence if someone ignores them. Place signs near entrances and disposal areas to explain that the property is monitored and that unauthorized dumping is prohibited. Keep the wording factual rather than threatening.
Deterrence improves when the property looks managed. Overflowing dumpsters, broken gates, dark corners, and old debris signal weak control. A clean enclosure, reliable pickup schedule, working lights, and prompt removal tell visitors that activity is noticed. Cameras reinforce that message, but they cannot compensate for a disposal area that is always full or confusing.
Practical deterrence measures
- Add adequate lighting at approaches, gates, and enclosure doors.
- Trim landscaping that blocks cameras or creates hiding places.
- Repair gates, latches, and locks that no longer control access.
- Post disposal instructions for residents or tenants in plain language.
- Schedule bulky-item pickups and communicate the process before move-out seasons.
- Share repeat incidents with the correct internal decision maker, not just maintenance.
Assumption: if a property already has reliable waste capacity and lighting, camera improvements may be the highest-impact next step. If basic waste operations are failing, fix those at the same time, because cameras will mostly document a problem the site is creating.
Avoid common mistakes that weaken camera programs
The most common mistake is installing cameras where they are easy to mount instead of where they answer the investigation question. A high camera on a distant roof may look impressive on a live view, but it may not identify a vehicle at night. Another mistake is ignoring lighting. Infrared, headlights, reflective plates, and shadows can create images that are recognizable in daytime but useless after hours.
Managers also weaken programs by failing to test. Test during the conditions that matter: at night, in rain if common, with headlights facing the camera, and with a vehicle stopped in the exact dumping position. Review the clip on the device staff will actually use, not only on an installer’s monitor.
How to recover
If the system is already installed and not helping, do not assume it must be replaced. Start with a footage audit. Pull three recent incidents, or recreate a safe test scenario, and ask what is missing. Is the plate too small, the face backlit, the camera offline, the alert too broad, or the storage window too short?
Many fixes are incremental. Adjust the angle, add a second targeted view, improve lighting, rename cameras, change analytics rules, or train staff on clip export. Replacement should follow a clear gap, not frustration.
Step-by-step checklist for property managers
Use this checklist before approving a new system or revising an existing one. It keeps the conversation focused on outcomes instead of camera counts.
| Phase | Action | Evidence |
|---|---|---|
| 1. Define the issue | List what is dumped, where, when it is found, and how often. | Photos, cleanup notes, staff observations |
| 2. Map movement | Identify vehicle approaches, walking paths, exits, and blind spots. | Site sketch, gate locations, lighting notes |
| 3. Choose views | Separate overview, identification, and plate capture needs. | Camera list with purpose for each view |
| 4. Test conditions | Review day, night, glare, rain, and headlight scenarios. | Sample clips from realistic positions |
| 5. Set workflow | Assign review, export, logging, cleanup, and follow-up responsibilities. | Incident log and retention process |
| 6. Improve site controls | Coordinate signs, lighting, gates, waste capacity, and pickup communication. | Updated property rules and vendor schedule |
After installation, schedule a thirty-day review. Look at alert volume, missed incidents, staff feedback, and image quality. If alerts are too noisy, tighten the zones. If clips are hard to find, improve naming and permissions. If evidence is unclear, adjust the view before the next incident repeats.
Summary decision framework
Property managers should choose a camera approach based on the decision they need to make after an incident. If the decision is operational, such as where to add lighting or when to schedule pickup, overview cameras may be enough. If the decision involves identifying a vehicle, enforcing lease rules, or supporting a report, the system needs targeted identification views and a documented process.
Use three questions to decide the next move: What exactly is being dumped? What view would prove how it arrived? Who will act on the footage within the retention window? If those answers are clear, camera selection becomes simpler and the system is more likely to reduce repeat dumping.
Ready to reduce illegal dumping on your property?
Security and Life Integrations can help property managers turn dumping concerns into a practical camera plan. The next step is a site conversation focused on your trouble areas, current waste process, lighting, network conditions, and evidence goals. Bring recent photos, cleanup notes, and any existing footage. With that information, the team can recommend camera locations, monitoring options, and workflow improvements that fit your property instead of forcing a one-size system. Whether you manage a multifamily community, retail center, office building, warehouse, or mixed-use site, start with the areas where dumping costs time and creates complaints. A focused assessment can show which views matter, which site controls should change, and how staff can preserve useful clips when incidents occur. It also helps prioritize budget by separating immediate fixes from upgrades that can wait until patterns are confirmed.
Talk with Security Life Integrations