
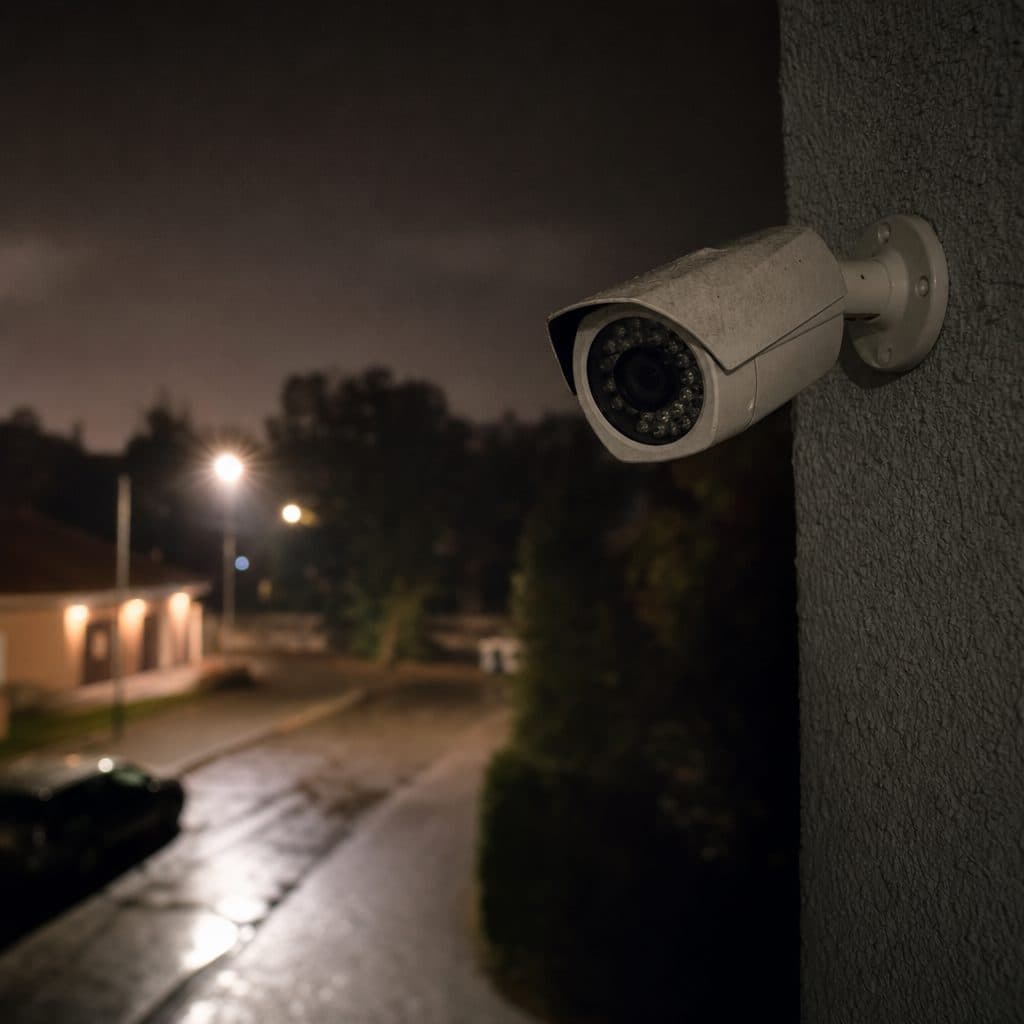
The Nighttime Camera Problem Is Usually Fixable
If your security cameras look sharp during the day but blurry, grainy, washed out, or nearly black at night, the camera may not be the main problem. Night performance depends on the whole scene: light, lens choice, infrared behavior, mounting height, reflections, exposure settings, recorder quality, and maintenance. A good daytime image can hide weaknesses that appear only after the sun goes down.
This article explains why cameras look bad at night, how to diagnose the cause, and what changes usually deliver the biggest improvement. The goal is practical: help you decide whether to adjust the existing system, add lighting, replace specific cameras, or redesign the coverage before spending money in the wrong place.
 Night image quality depends on lighting, placement, and settings.
Why Cameras Struggle After Dark
Cameras need usable light to create detail. When visible light drops, the camera compensates by slowing shutter speed, increasing gain, opening the iris, switching to infrared, or combining several frames digitally. Each choice has a tradeoff. More gain creates noise. Slower shutter speeds blur moving people and vehicles. Infrared can illuminate a close wall while leaving the parking lot dark.
The result is often disappointing footage that shows activity but not identity. You may see that someone walked through a door, yet you cannot recognize a face, read a plate, confirm a uniform, or prove exactly what happened. For businesses, that gap matters because the value of video is evidence, response, and accountability, not just motion on a screen.
The Difference Between Seeing and Identifying
Seeing means the camera captures the presence of a person or vehicle. Identifying means the image contains enough clear pixels, contrast, and timing to support a reliable decision. A wide camera mounted high on a building may cover a large yard, but at night it may not provide identification at the gate. That is a design issue, not a mystery.
Common Causes of Poor Night Video
Most bad night images come from a small set of causes. Work through them in order before replacing equipment.
Not Enough Light
Even low-light cameras need some usable light. Total darkness forces infrared or heavy digital processing, which reduces detail and increases noise.
Infrared Bounce
IR light reflects from nearby walls, soffits, glass, signs, rain, dust, and spider webs. The camera exposes for the bright reflection, leaving the subject dark.
Wrong Mounting Angle
A camera aimed across shiny pavement, glass doors, or headlights can fight glare all night. Small angle changes often improve contrast immediately.
Too Wide a View
Wide coverage spreads pixels thin. At night, less detail and more noise make faces, badges, and plates harder to confirm.
Dirty or Weathered Domes
Dust, fingerprints, scratches, water spots, and aging plastic scatter infrared light. The picture may look foggy even when the electronics are fine.
Settings That Fight Reality
Aggressive noise reduction, wide dynamic range, exposure, and smart infrared settings can help or hurt. A preset is not always correct for the scene.
 Glare, reflections, and wide views can hide critical nighttime detail.
Lighting: The First Place to Look
Lighting is the most dependable way to improve night video. The best camera cannot capture detail that never reaches the sensor. In many sites, a modest lighting adjustment does more than a camera upgrade because it improves contrast, color, shutter speed, and scene consistency.
Visible Light Versus Infrared
Visible light helps cameras record color, clothing, vehicles, and environmental context. Infrared helps in dark areas without adding visible brightness, but it usually produces black-and-white images and can create hot spots. For entrances, loading docks, storefronts, and parking areas, visible light often gives the most useful evidence.
Lighting Placement Matters
Do not point a light straight into the camera. Place lights so they illuminate the subject from the camera side or from an angle that reduces shadows. Avoid creating a bright foreground and a dark background. If the camera watches a doorway, light the approach, not just the door frame.
Practical tip: Test lighting after business hours with real movement. Walk the same path an employee, customer, or trespasser would take, then review recorded video, not just the live view.
Camera Specifications That Affect Night Performance
Specifications can help, but only when they are interpreted correctly. A high megapixel count does not automatically mean better night video. More pixels on a small sensor can mean each pixel receives less light. Lens quality, sensor size, aperture, processing, and field of view all matter.
| Specification | What to Ask | Why It Matters |
|---|---|---|
| Sensor and lens | How large is the sensor, and how fast is the lens? | Larger sensors and wider apertures generally gather more light. |
| Resolution | Is the view too wide for the identification goal? | Extra resolution helps only if the scene has enough light and the lens supports detail. |
| Minimum illumination | Under what conditions was the rating measured? | Lab ratings may not match your mounting height, light level, or motion requirements. |
| IR range | Is the claimed range useful for this exact angle and surface? | Reflections, beam pattern, and foreground objects can reduce real performance. |
| Shutter control | Can the system limit blur while keeping brightness acceptable? | Motion clarity often requires balancing exposure, gain, and lighting. |
Use specifications to shortlist products, then judge them against the actual scene. The right camera for a lit lobby may be wrong for a back alley, storage yard, or vehicle entrance.
Settings That Can Make Night Video Worse
Many systems ship with default settings intended to look acceptable in many places. Defaults are a starting point, not a design. Night scenes often need careful adjustment because improving one part of the image can damage another.
Noise Reduction
Noise reduction smooths grain, but too much can smear faces, hands, and license plates. If moving objects look like ghosts, reduce noise reduction, increase light, or raise shutter speed before blaming the camera.
Wide Dynamic Range
Wide dynamic range can help when headlights, windows, or bright signs share the frame with dark areas. It can also add noise or flatten contrast at night. Turn it on only where the scene demands it, then compare recordings.
Smart Infrared
Smart infrared reduces overexposure on close subjects, but it cannot fix every distance problem. If a person near the camera looks white while the background disappears, change the aim, move the camera, add separate lighting, or use a different lens.
Placement Problems You Can Diagnose Quickly
Camera placement determines what the system can realistically capture. A camera mounted for daytime overview may be too high, too wide, or too exposed to glare for nighttime identification. Before replacing hardware, inspect the view after dark and look for these problems.
- Bright objects near the lens, such as walls, columns, signs, or parked vehicles.
- Glass, plastic domes, or protective covers reflecting infrared back into the camera.
- Headlights or security lights shining directly toward the lens.
- Views that try to cover too much area for the desired detail.
- Mounting heights that show the tops of heads instead of faces.
- Vegetation, flags, steam, insects, or rain crossing the infrared beam.
Small changes can be powerful. Lowering a camera, narrowing the field of view, cleaning a dome, or moving it away from a reflective surface may turn unusable footage into useful evidence.
A Step-by-Step Night Video Checklist
Use this checklist on a normal operating night, not only in a showroom or during installation. Record each test so decisions are based on evidence.
- Define the purpose of each camera: overview, recognition, identification, transaction review, or license plate capture.
- Review recorded video from the worst hour, not the best-looking moment.
- Walk through the scene at realistic speed while someone watches later footage.
- Check whether faces, clothing, vehicles, and actions are clear enough for the goal.
- Clean lenses, domes, housings, and nearby surfaces that reflect infrared.
- Turn nearby lights on and off to compare visible light against infrared.
- Adjust aim to remove bright foreground objects and direct glare.
- Test shutter, gain, WDR, noise reduction, and smart IR one change at a time.
- Confirm storage and network settings are not lowering recorded quality.
- Document the final settings so future service does not undo the improvement.
Success marker: A useful night camera does not just look bright. It captures the detail needed for the business decision the camera was installed to support.
When to Upgrade Equipment
Upgrading makes sense when the existing system cannot meet the goal after cleaning, lighting, aim, and settings are addressed. The right upgrade may be one camera, one lens, a separate illuminator, or a redesigned view, not a complete replacement.
Good Upgrade Questions
- What must the camera prove after dark?
- At what distance must a person, vehicle, or plate be identified?
- Is visible color important, or is black-and-white acceptable?
- Can lighting be improved without creating glare, nuisance, or safety concerns?
- Does the recorder store the same quality the camera can produce?
- Will the field of view support the required level of detail?
For license plates, general surveillance cameras often disappoint at night because reflective plates, headlights, angles, and speed create a specialized challenge. If plate capture is a requirement, treat it as its own design task with the correct camera position, exposure, and lighting.
Risks and Mistakes to Avoid
The fastest way to waste money is to buy a brighter camera without confirming the cause. Poor night video is often a site problem. Avoid these common mistakes.
Mistake: Chasing Megapixels
More resolution can help in the right conditions, but it can also magnify storage use, bandwidth, and low-light weaknesses. Fix light and framing first.
Mistake: Ignoring Recorded Video
Live view may look better than recorded playback because the recorder, stream setting, or monitor layout is different. Always evaluate exported clips at normal playback size.
Mistake: Letting Maintenance Slip
Outdoor cameras live with pollen, dust, insects, salt air, sprinklers, and weather. A scheduled cleaning routine can prevent many night problems, especially on dome cameras using infrared.
How to Recover
Return to the checklist. Identify whether the issue is lighting, reflection, focus, settings, placement, or equipment limits. Change one variable at a time and save examples before and after each adjustment.
A Short Decision Framework
Use this framework before approving a repair or replacement.
- If the image is dark everywhere, improve lighting, aperture, exposure, or camera sensitivity.
- If the foreground is bright and the background is black, remove reflections or rebalance lighting.
- If people blur while standing areas look bright, increase shutter speed and add light.
- If the scene is clear but too small, narrow the view or add a dedicated camera.
- If problems appear only after rain, cleaning, weather sealing, or angle changes may be needed.
- If the goal is plate capture, design specifically for plates instead of relying on overview cameras.
The best decision is usually the smallest change that reliably meets the operational goal. Sometimes that is a cleaning and settings visit. Sometimes it is lighting. Sometimes it is a new camera in a better location.
Get a Night Video Assessment
Security and Life Integrations can help you determine whether your nighttime camera issue is caused by lighting, placement, settings, maintenance, or equipment limits. If you are responsible for a business site, review several overnight clips, note the exact camera names and problem times, and ask for a practical recommendation that prioritizes usable evidence over brighter marketing images. Bring any examples of glare, blur, darkness, or washed-out infrared so the next step is based on real conditions, not guesswork. The right fix may be simpler than replacing the entire system. Start with a focused review, then invest only where the evidence shows a clear need this week.
Visit Security and Life